How to Erase Deleted Data Permanently on Windows System?

| Summary: If you simply delete the data on the Windows system or empty the Recycle Bin, the deleted data remains on your computer hard drive. It can be easily recovered using a data recovery tool. In this post, we will share some methods to erase the deleted data permanently from your Windows system. |
|---|
When you delete a file from your computer, only the address to the file location is removed from the drive or Master File Table. The file remains hidden from you. Thus, the deleted files, unless overwritten, can easily be recovered by using any powerful data recovery software. Therefore, it poses a grave risk of data theft or the breach, especially when you share, donate, sell, or dispose of your computer system. Therefore, it is vital to erase the deleted data permanently to prevent such data breaches.
इस पोस्ट को हिंदी में पढ़ने के लिए यहां क्लिक करें।
Which Data Cannot Be Recovered?
- Erased Data: The data or files that are permanently erased using an advanced data eraser tool cannot be recovered at all. You can wipe out the data multiple times but a single-time data wiping is sufficient to erase data permanently. Read here.
- Overwritten Data: After you have deleted the data and continue working on that storage media, the data is overwritten. In such a case, the deleted data cannot be recovered by any means.
How to Erase Deleted Data Permanently?
We have outlined three methods to permanently erase deleted data. Let’s discuss them.
- Windows PowerShell and Cipher
Using this built-in Windows utility, you can securely erase the deleted files. You need to utilize PowerShell to run Cipher. Follow the below steps to erase the deleted data using Cipher:
- Type “PowerShell” in the search bar.
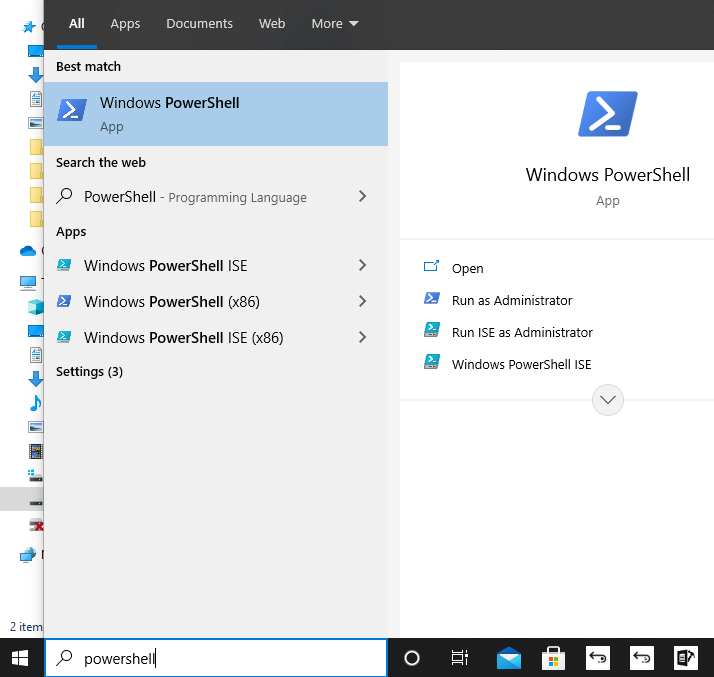
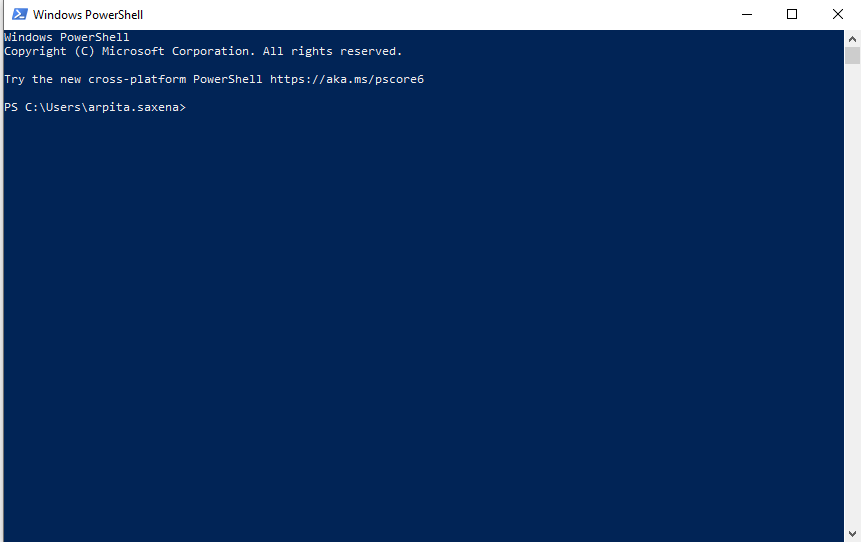
- Launch the PowerShell.
- Type “cipher /w:<filepath>” (e.g. cipher /w:D:\User\Arpita\Files).
- This will try to overwrite the deleted files on the specific file path. The existing data remains untouched. Only the deleted files get overwritten.
Note: This method will take some time. So, you have to wait till the overwriting process gets finished.
- Windows SDelete Utility
SDelete is another Windows utility that erases the deleted data permanently with no scope of recovery left. You can easily download it from the Microsoft website and use it to erase your files. Follow the below steps to use the SDelete Windows utility.
- Download SDelete.
- Extract the SDelete.exe file and copy it on the Desktop.
- Type “cmd” on the search bar.
- Select the “Command Prompt”, right-click on it, and choose “Run as an administrator”.
- Type “sdelete –p 5 X:”. Here X is the drive volume letter.
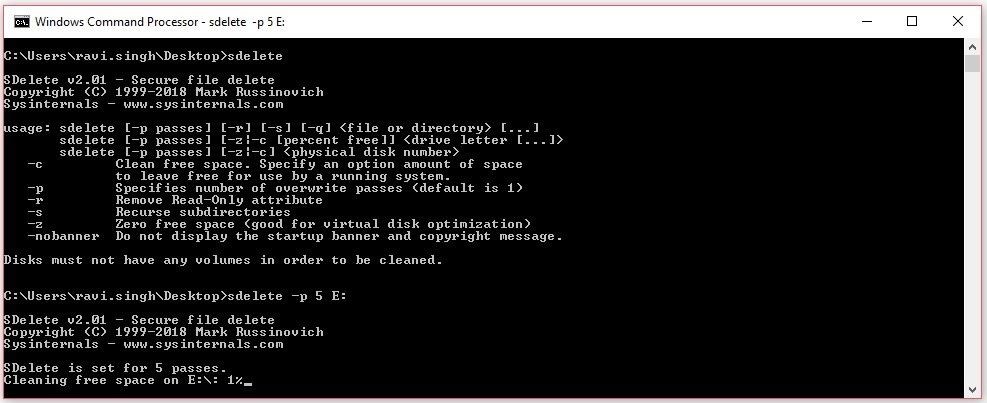
- Hit Enter and wait for the process to get completed.
Note: This method will erase all the deleted files in that particular drive volume. It only erases the file data, but not the file names.
Reminder Alert! These two methods require technical know-how at some level and have limitations as well. For example, both processes take a lot of time to complete. Also, the SDelete can’t delete the file names. So, it can be very risky in case you have sensitive data and files.
- Third-Party Eraser Software
BitRaser File Eraser is a certified DIY tool to erase the deleted data/files as well as the existing files from your computer system or any other storage media. You can also erase the uninstalled application traces and the internet browsing history using this tool.
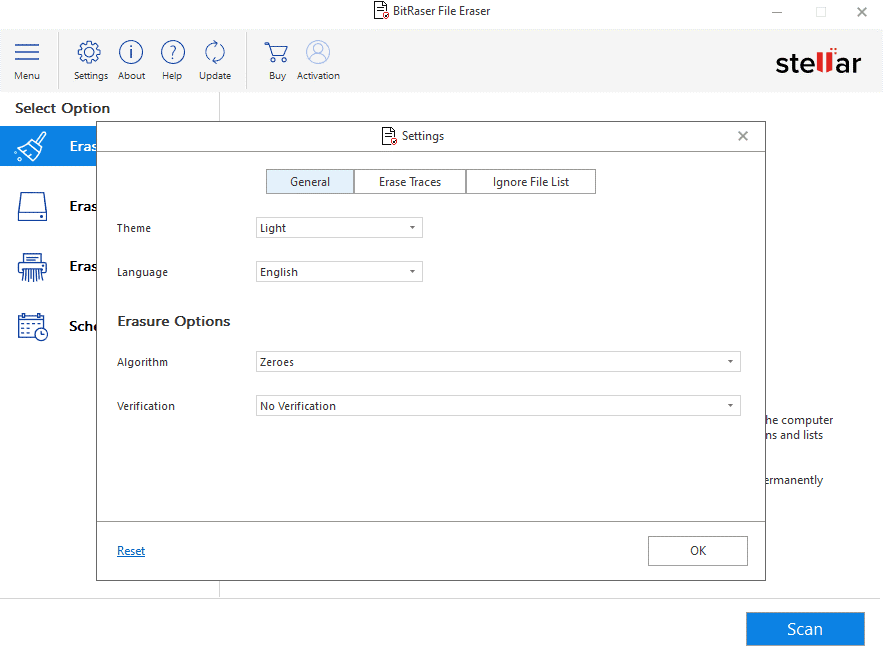
This tool supports 17 international data erasure standards, such as DoD 5220.22-M (3 passes/7 passes), NATO, etc., to ensure successful and safe data erasure. You can choose any of them by navigating to the Settings of this tool.
Follow the below steps to use the BitRaser File Eraser tool.
- You need to purchase a license from the official website for this tool.
- Install and launch the tool.
- Click on “Erase Deleted Data” from the left pane of the wizard.
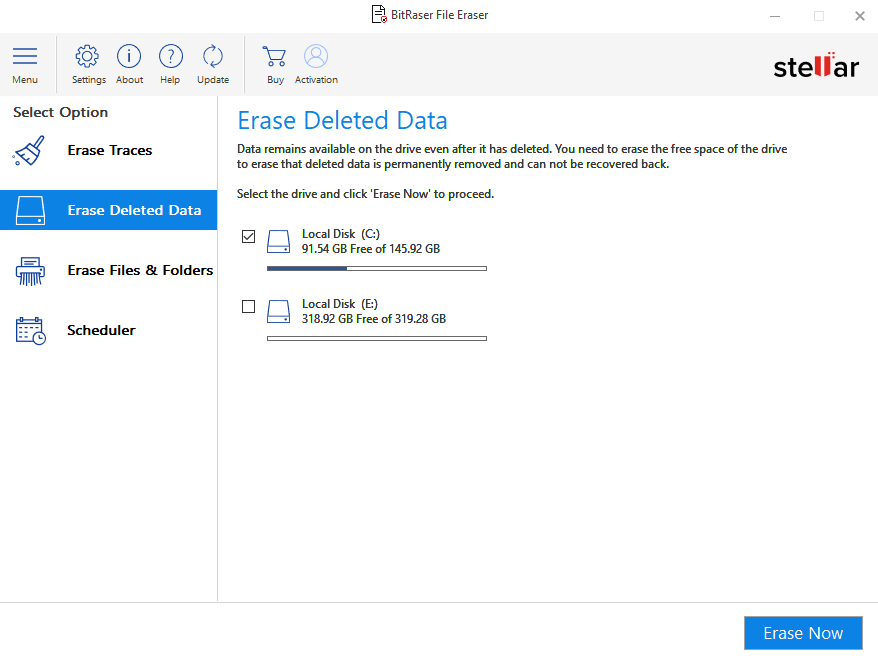
- Select the drive volume from where you want to erase the deleted files or data.
- Click on “Erase Now”.
- A prompt will appear to confirm to proceed further. Click on “Proceed”.

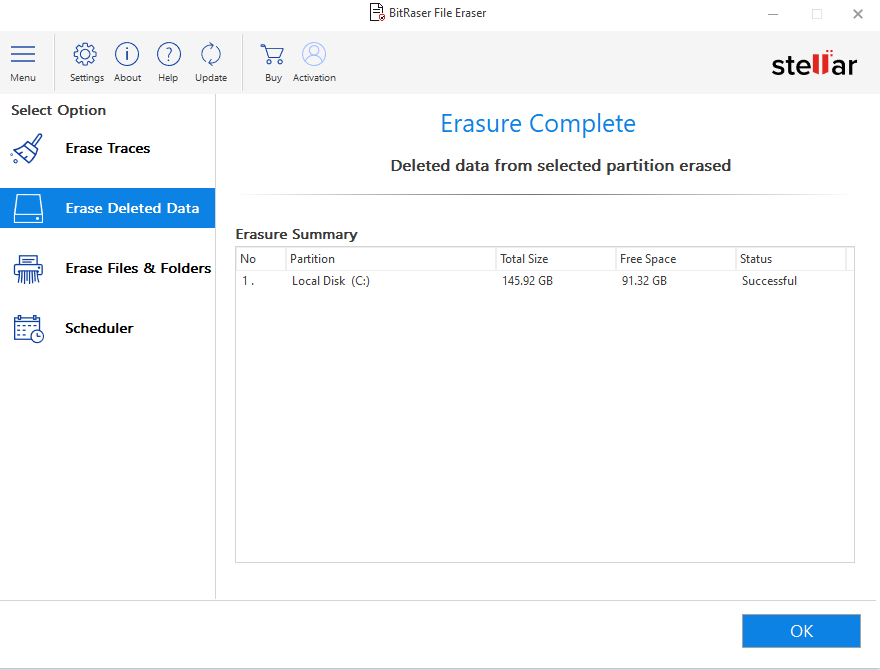
- It will take a while to complete the process to erase all the data permanently. (The time taken depends on the erasure standard you chose, the storage media, and the interface.)
- Once the process is completed, click on “OK”.
Bottom Line
Many Windows users think that emptying the Recycle Bin will erase the files permanently. It’s time to ditch this notion and accept the fact that data is not erased from PC by simple deletion. It resides on the computer even after emptying the Recycle Bin or pressing Shift+Delete. To erase data permanently, you can use the Windows built-in utilities, like Cipher and SDelete. But, these are command-line-based utilities. A single typo, and you will end up losing all your data forever. Better choose a third-party software, like BitRaser File Eraser, to erase files permanently on Windows 10 system. The software has a user-friendly interface and supports 17 international data erasure standards. Also, it generates tamper-proof erasure reports.
Also Read: Difference between Data Wiping and Data Deletion
About The Author

Girish is a blogger and writer. He has over 6 years of experience in Data Recovery and Data Eraser technology. In his free time, he writes about technical tips and tutorials.