NETGEAR offers advanced and high capacity network attached storage (NAS) devices under the ReadyNAS series. These NETGEAR NAS devices support various RAID configurations.
NETGEAR NAS Supported RAID Configurations
You can configure various types of RAID levels on NETGEAR NAS. Let’s discuss about the NATGEAR NAS supported RAID configurations, the number of required disks, and the level of fault tolerance they offer.
JBOD
This RAID level doesn’t provide data protection. If one of your drives fails, you lose data. JBOD is available only on volumes consisting of a single hard disk.
RAID 0
It can be configured with two or more disks. In RAID 0, the data is striped across all the disks. However, it doesn’t offer any fault-tolerance. Hence, failure of even a single physical disk in RAID 0 results in array failure and data loss.
RAID 1
This RAID requires at least two disks. The data on one disk is duplicated to the other disk, making a set of two disks. In a RAID 1 array containing two disks if one disk fails, the other disk can take over and provide access to the stored data. For more read the case study.
RAID 1+0 (RAID 10)
This is a nested RAID configuration, combining RAID levels 1 and 0. The data is striped across the sets of two duplicate disks. It requires at least four disks to configure a RAID 10 array. In an array of four disks, you get a fault tolerance of up to two disks – one from each set of duplicate disks.
RAID 5
This can be configured with three or more disks. Parity information is stored on disks and data is striped across disks. It provides fault-tolerance of a single disk in an array of three disks. For instance, if one of the disks in an array of three disks fails, you can continue accessing the data due to the availability of parity information on other disks. Check how our experts successfully recovered data from Raid 5 configuration.
RAID 6
Similar to RAID 5, this RAID configuration also uses striping and parity information to store data. But it uses double parity blocks due to which it provides better data redundancy than RAID 5. At least four disks are required to configure RAID 6. It can withstand a failure of up to two disks in an array of four disks.
[NOTE]: RAID configurations - except RAID 0 and JBOD – provide disk redundancy and fault-tolerance. In case of a failing or failed disk, you must immediately replace it to prevent NAS errors and RAID array failure.
When Does ‘RAID Creation Failed’ Error Occurs?
The ‘RAID creation failed’ error on NETGEAR NAS may occur at different instances. For example, you may encounter this error, while trying to configure RAID on your NETGEAR ReadyNAS as reported by this user on NETGEAR community forum:
I want to configure RAID on my NETGEAR ReadyNAS, but it fails every time when I try to do so. I go through the steps in the description:
Select the Boot menu >> select Factory Reset >> Format the disk and try
configuring RAIDAbout 10 seconds later, the NAS shows the error: ‘Err: Raid creation failed’. I tried various methods to solve the problem, but nothing worked. How can I fix this error?
Apart from this, you may also see this error while trying to replace a failed RAID disk.
Reasons for ‘RAID Creation Failed’ Error
RAID creation failed error is a potential indicator of disk(s)/drive(s) related issues. Here are some common reasons that may result in this error:
- Replacement disk has a smaller capacity than the replaced disk in RAID configuration.
- The drive bay on NAS doesn’t support the capacity of drive you’re trying to add/connect.
- Disk(s) firmware is not up-to-date, or corrupted.
- Drive(s) is physically crashed.
- Disk(s) has got corrupted due to malware intrusion, bad sectors, etc.
Whatever may be the reason for this error, you lose access to the data on NAS.

How to Fix ‘RAID Creation Failed’ Error on NETGEAR NAS and Restore Data?
To fix this error, you need to first check the capacity of disk(s). The NAS bay should support the capacity of disk you’re trying to use, and capacity of the replacement disk (if disk replacement is required) in a RAID configuration is greater than or equal to the replaced disk.
You can also try updating the firmware of all the disks attached to the NETGEAR NAS. You can contact the disk manufacturer for checking and updating disk firmware.
If this doesn’t fix the error, contact a Professional Data Recovery Service provider such as Stellar® who can help you recover data from NETGEAR NAS.
Stellar® has an experience of more than 26 years in data recovery domain and is an ISO 9001 and 27001 certified company. It uses sophisticated tools, and advanced techniques for safe recovery of NAS data. It also follows stringent practices to recover data with utmost privacy.
The data recovery experts at Stellar® can recover data from NAS which is throwing ‘RAID creation failed’ error. They can recover data from NAS disks, even if the error has occurred due to multiple disks failure.
The experienced technicians at Stellar® thoroughly analyze the NETGEAR NAS disks to find the root cause of data loss and then recover the data with utmost safety.
Stellar® data recovery service features the following:
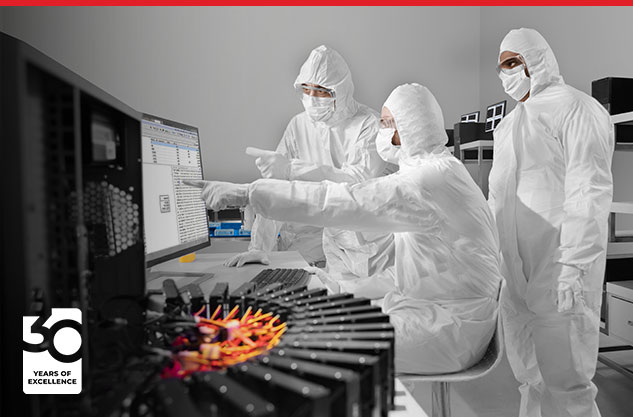
- Specialized air-controlled Class 100 Clean Room lab to provide safe environment for data recovery from NAS disks.
- A huge inventory of disk spare parts for transplantation (if required).
- Use of proprietary tools to clone the NAS disks and recover data from the cloned disks.
- Special tools to determine correct logical parameters of RAID configured on NETGEAR NAS.
How to Prevent ‘RAID Creation Failed’ Error?
- If a RAID disk has failed within the fault tolerance limit, replace it immediately so as to prevent failure of other disks.
- While replacing a failed RAID disk, make sure that the replacement disk capacity is larger than or equal to the failed disk.
- Ensure that the NAS bay supports the capacity of disk you’re trying to attach.
- Check the health of drives at regular intervals.
- Make sure that the disk’s firmware is up-to-date.
- Use an antivirus to prevent virus attack.
Conclusion
‘Raid creation failed’ error on NETGEAR NAS occurs because of various disk-related issues such as unsupported disk capacity, outdated or corrupt disk firmware, physical/logical damage caused to disks, etc. When this error occurs, you’re not able to access the data stored on NAS.
To fix this error and restore data from NAS, you can check if the capacity of disk is appropriate, and disk firmware is updated. If these don’t help resolve the error, contact a trusted NAS data recovery expert to recover your crucial data.
About The Author

Sr. Online Marketing Executive and Content Writer at Stellar Data Recovery.


